
Premise
In this post I’ll demonstrate how to trigger a Microsoft Flow from Microsoft PowerApps. PowerApps are indeed very useful in submitting forms to the server. Combined with Microsoft Flows, these two can perform a whole lot of powerful operations. Let’s check out one such scenario in here.
Objective
I’ll use a PowerApps form to create and assign a Planner task to a given user. PowerApps will get the inputs from the user. These values will be passed to a Flow. This flow will then create the task for us.
Create a Flow for PowerApps
One very important thing to remember is that,
whenever there’s a requirement to combine a Flow with PowerApps, we always need to define our Flow first. This is because, we need to define the set of arguments in the Flow that it will be expecting from the source PowerApps.
So, let’s create the Flow first.
- Log in to, Microsoft Flow.
- Create a new Flow from blank.

Create MS Flow - A flow will always require a trigger. In this case, search for PowerApps and add the same.

PowerApps Trigger - The trigger PowerApps does not require any additional configuration. So let’s add our planner. Search for, create a task, and select the Planner option.

Create a Planner Task - Select an existing Planner id. For the title, select the option Ask in PowerApps.

AskInPowerAppsTitle This is important. It tells our flow that whichever application is calling it, needs to provide this information. One big drawback is that the name of the argument will be auto assigned! We have to use this name no matter how complex/big it is.
- Similarly, for the option, Assigned User Id, again select Ask in PowerApps.

Planner Assigned Id - Optionally, we can send the target user an email informing the same.
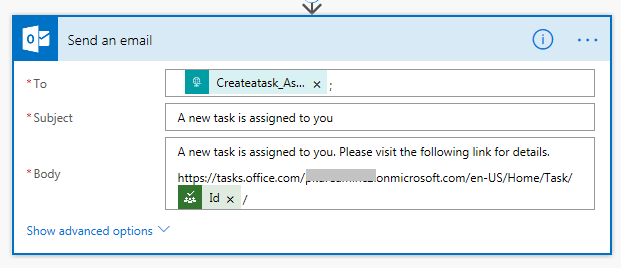
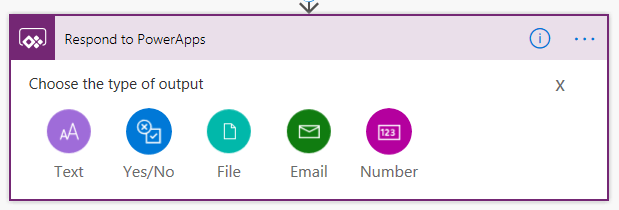
Send an email - Finally, add the action, Respond to PowerApps. This is used to communicate back to the caller application.

Respond to PowerApps - In this case, we’ll configure a Yes/No field with a true message.
PowerApps yes/no
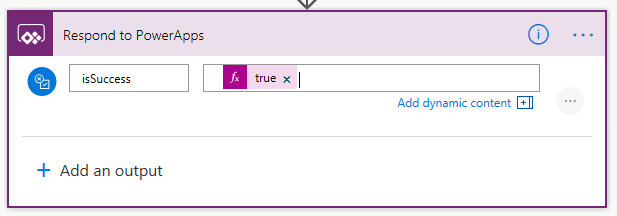
Success - With this, our flow is ready. Save and exit the flow.
Call Flow from PowerApps
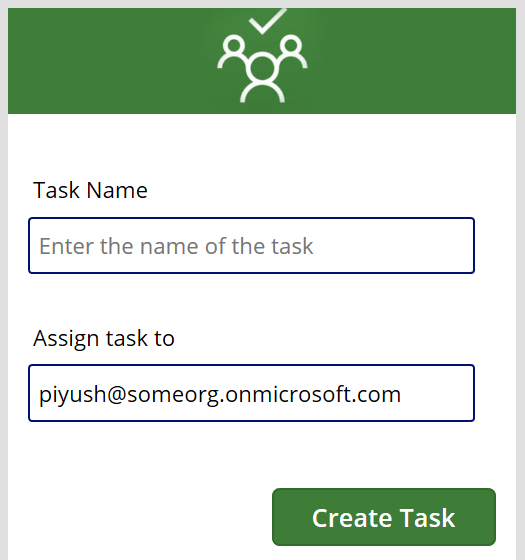
Now that our flow is ready, we need to trigger the same from our PowerApps. For the purpose of this demo, I have created an app with 2 text fields and a button. Users need to fill in the information and hit the Create Task button.
- Open your PowerApps.
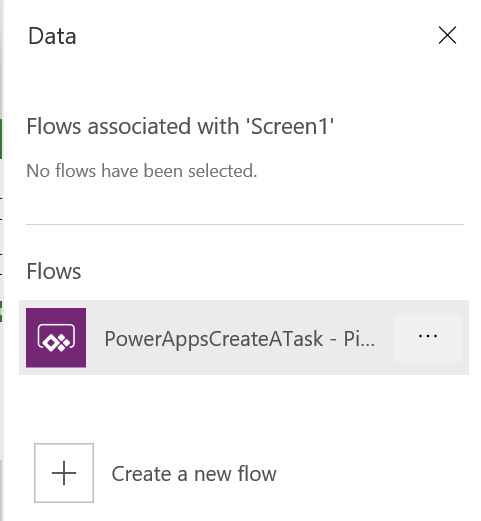
PowerApps - Select the button in the editor. From the top menu, under Action add, Flows

Insert Flows - This is the reason, I wanted to create the flow first. As the Data pane will open, we can now spot all the existing flows that can be triggered from PowerApps. Since, our flow is ready, we can now select the same.
Select Flow - Once added, it will ask you to complete the flow’s parameters.

Adding Flow

Flows Parameter Prompt - Complete the parameters in the formula bar. In this case, I need to pass the values of both the input fields.
- Save and publish the app before closing. Now, run the app. A task will be created with an email notification.


Key Takeaways
- In a situation like this where we need to trigger a flow from PowerApps, it is advisable to create your flow first.
- While triggering the flow, make sure you’re passing the arguments in the same exact order as defined in the flow.
- In the email above, I have directly passed in the given planner task’s url. It can be constructed like below,
https://tasks.office.com/{TENANT}.onmicrosoft.com/en-US/Home/Task/{NEW TASK ID}

Any idea how and where to update the Sharepoint Site and List url while moving to different environment ?
LikeLike
Can you suggest how can we pass an attachment in similar manner? I’m facing attachment issues while implementing above
LikeLike