
Premise
In this post I’ll demonstrate how to create your first PowerApps form. I’ll be using SharePoint List as its data source and display a list of items in a gallery control. But first, a little intro.
InfoPath
Microsoft has confirmed that InfoPath will be retiring in 2026 to match the support life-cycle of SharePoint Server 2016. However, no new edition of the same will now be released. This is because it now, does not bode well with Microsoft’s future planning and with the way modern web is evolving. This extended support should only be used for backward compatibility and its migration to the latest platforms.
While InfoPath is retiring, Microsoft is now replacing its functionalities with a bunch of other tools. One of the latest platform to be used instead of InfoPath forms is Microsoft PowerApps.
Microsoft PowerApps
Microsoft PowerApps is one of the many latest changes, Microsoft is bringing to SharePoint. It is built on top of Microsoft’s Common Data Service for App leveraging the Common Data Model. Driven by Microsoft, Common Data Model or, CDM, is an open source standard and collection of entities representing business concepts to facilitate data interoperability.
PowerApps already support a bunch of connectors as data source. We can use these data sources to pull data to PowerApps forms and then, view or modify the same. One of the data sources that I’ll be demonstrating here is, SharePoint List.
View SharePoint List data in PowerApps
As described above, this post is about keeping items read-only inside PowerApps. However, before proceeding further, let me highlight one thing.
PowerApps is not an ideal place to only view your data. Viewing can be a part of a large application but it shouldn’t be the sole purpose of your app.
On that note, let’s dive in to the steps now.
I have a SharePoint list, Product Table which will be used as a source in this case. This app is going to have 2 screens,
- Home screen. It can be assumed as a landing page of the app which will contain various links to other screens.
- List screen. It will display the items from a SharePoint List.
Let’s check out the steps then.
Steps to create your first PowerApps
- Login to PowerApps.

- Select Apps from the left navigation. If you have never created any PowerApps then, the page will look like the following.

PowerApps All Apps - Select, Create an app button. A lot of default layouts will be displayed. For the purpose of this post, we’ll start with a blank canvas. In the layouts option, select Tablet layout for the Blank app option. You can choose any sample template provided over there as well.

PowerApps Blank App - This will launch PowerApps Studio with the following message. It provides couple of links to create a new screen with either a form or a gallery.
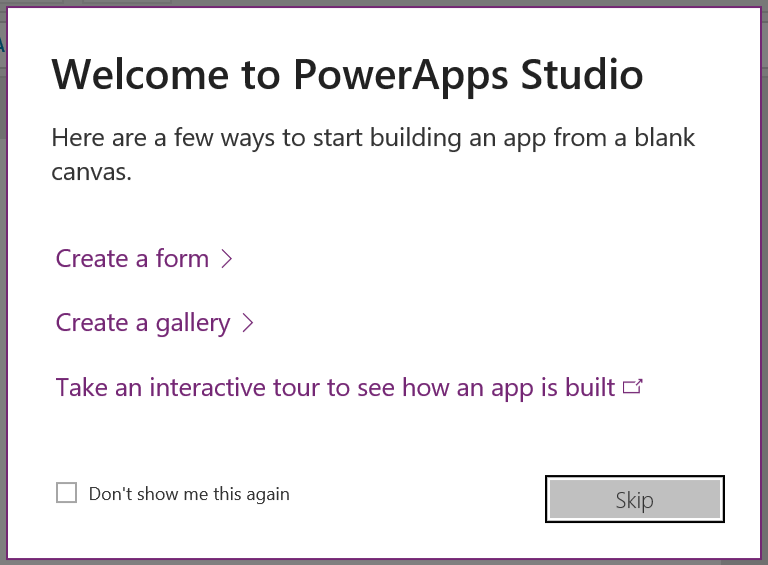
PowerApps Studio Message - For this post, I’ll hit the Skip button. A blank screen will then be displayed.

PowerApps Blank Screen - Before proceeding further, let’s save the app first. Go to

PowerApps Save As - On the blank home screen, insert a button from the top menu.
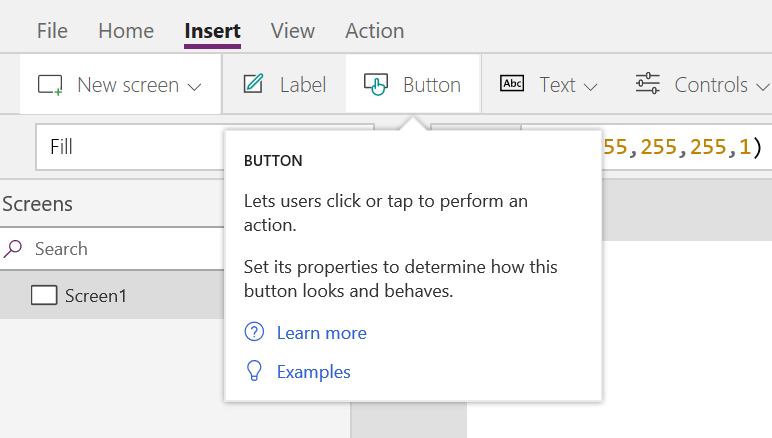
PowerApps Button Insert Option - The screen will look like the following.

PowerApps Button - I’ll now give full width to the button and place it at the bottom.

PowerApps Customized Button - Select, Screen1 from the left menu. Go to its properties window and add a Background image
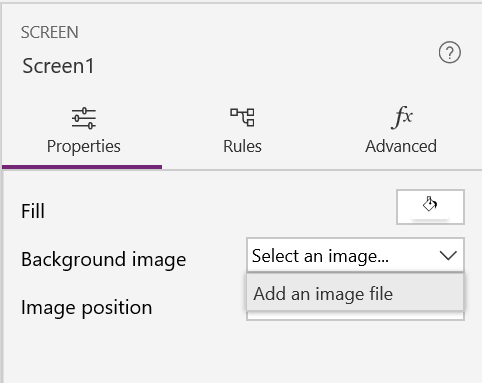
Screen Background Image Option - I have added a background image to the screen.

Home Screen - Now, that our home screen is ready, let’s add a new screen. On the top menu, go to,

List Screen Option - A new List screen will load up with some dummy data.

List Screen - To make this more meaningful, we need to add our data to it. To do that, go to top menu,
As you can see in the image below, my data source collection is empty.

Add Data Source - Click on Add data source and select, SharePoint. Choose the option cloud services for SharePoint Online.

SharePoint Data Source - Enter the url of your site and hit Go.
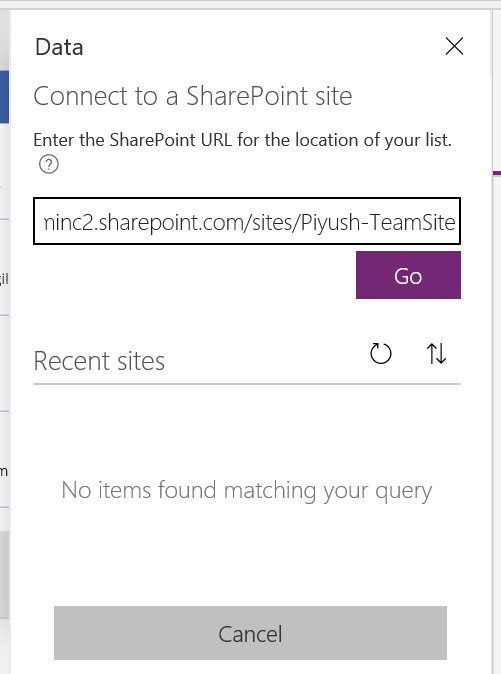
SharePoint Site URL - Once the connection is established, all the available lists will be shown in there. Select a single or multiple values to create multiple data sources at once. In this case, I’ll be selecting the list, Product Table.
- You’ll now see that the data sources collection has got one value or, multiple depending upon your selection.

SharePoint Data Source - Now, from the left menu, under Screen2 select the control TemplateGalleryList1. From the top drop down select Items. In the fx textbox, replace CustomGallerySample with your new data source, Product Table.

TemplateGalleryList source - You can change the layout from the properties pane. In my case, I am happy with the default selection so no changes here. Layout option helps us to map the image, title, and, sub-title properties of the TemplateGalleryList to the appropriate fields in the source, in this case, SharePoint List.

TemplateGalleryList Property Pane

TemplateGalleryList Layout - Change the title of your gallery.

TemplateGalleryList Title - One last thing. We need to add the navigate functionality to the button. Go to Screen1 and select Button2. For the OnSelect event, add the code,

Navigate - Save and publish the app and we’re done! Run it. Clicking on the button on the home screen will take you to screen2.


Benefits of PowerApps
- By default it’s mobile ready. Just build a single app which can then be run anywhere, mobile (android/ios app), Windows 10 app, as well as on any modern browser.
- Very little to no effort in designing the forms for any screen. PowerApps support couple of layouts for apps, tablet and mobile. Both will run on any screen. Tablet layout will open in landscape mode on smaller screens, adjusting the view accordingly.
- Get and submit data without writing any code from a variety of data sources. PowerApps support a lot of data sources. For ex, SharePoint List, Excel, Dynamics 365, OneDrive, SQL Server, etc.
- There’s a provision for writing custom code as well. So, we can accomplish some complex tasks, in here as well.
Key Takeaways
- As mentioned above, PowerApps is not an ideal place to only view your data. The item limit, that it fetches from any data source, is capped at 500, by default. Hence, we should be using it more like a form and less like a grid view.
- Though, it can adjust to any screen, the screen adjustment happens only at the time of rendering. Post rendering, resizing the browser won’t have any impact!
- Coding interface is a big put down, as of now. However, we do expect some improvements over there. As we all know that, when it comes to code editors, no one does it better than Microsoft. 🙂
