Premise
In this post I’ll demonstrate how to call/trigger a Microsoft Flow directly from an external application. This external application can be a standalone app, a website, or even another Flow.
Microsoft Flow
Microsoft Flow is a cloud based service, designed to automate office tasks by creating workflows. It offers a web browser based UI where we can easily define the steps of the workflow. Build on top of Azure Logic Apps, it’s very simple to use and targeted at business users to easily automate their tasks. One of its distinctive feature is that though, it’s a part of Office 365 family, it can also connect to various external applications as well. Thus, empowering the user with a wide range of possibilities that, they can easily automate.
It works on a trigger-action pair. Something will trigger a flow which will then perform a set of defined actions. Usually we bind the trigger to some external automatic action like, when an email is received, when a new SharePoint list item is created, etc. However, in this post, we’ll be triggering the flow manually, as per our requirement.
Flow Purpose
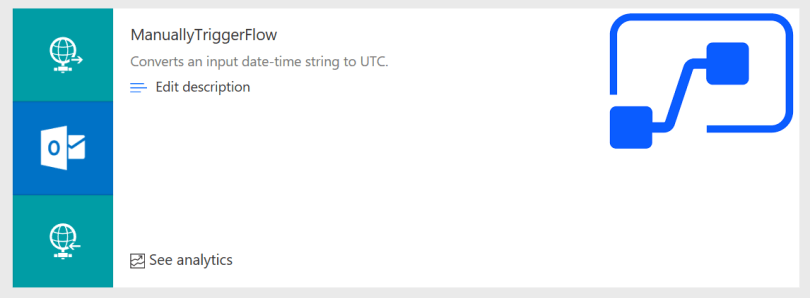
I’ll use this flow to convert the received date time value to UTC! Now, I know that this can be easily done anywhere. But, I am just using this example to demonstrate how a flow can be triggered remotely. The internal logic can be anything.
Create Microsoft Flow
- Launch Microsoft Flow. https://flow.microsoft.com
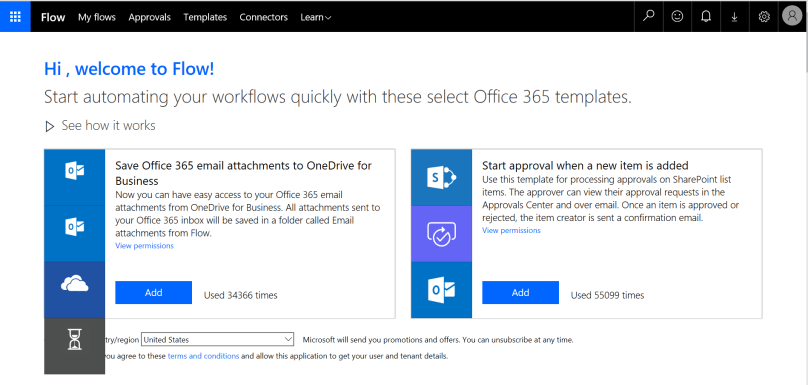
Microsoft Flow - Select the option, Create form blank, to create a new flow.

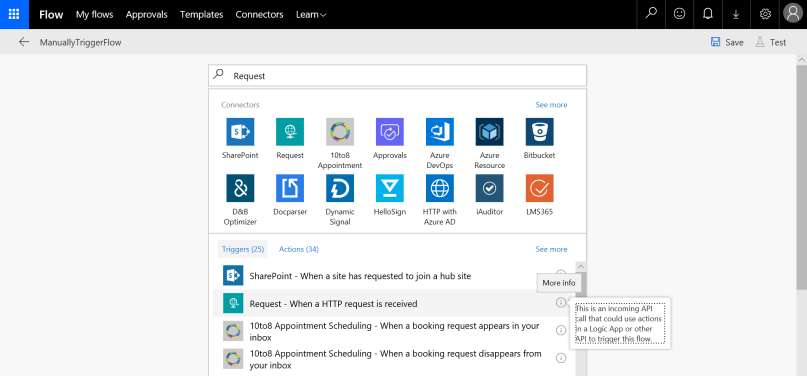
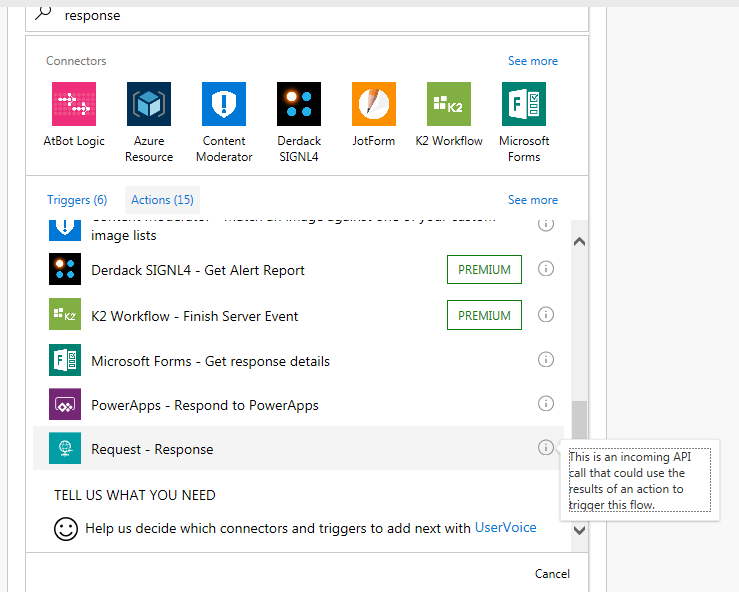
Create MS Flow - For manual trigger, select the Request trigger option. This trigger generates a public URL which then can be used to send HTTP Requests.
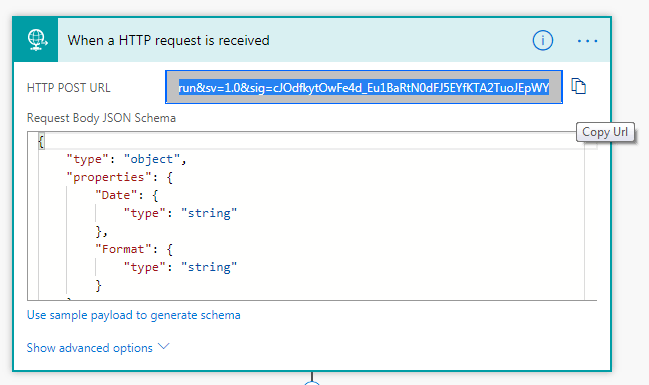
Request Trigger - Define the following in the Request Body JSON Schema.
{
    "type": "object",
    "properties": {
        "Date": {
            "type": "string"
        },
        "Format": {
            "type": "string"
        }
    }
}
The above definition states that my flow accepts 2 parameters, first one is the actual date and second is the date format in which the output date time will be displayed.
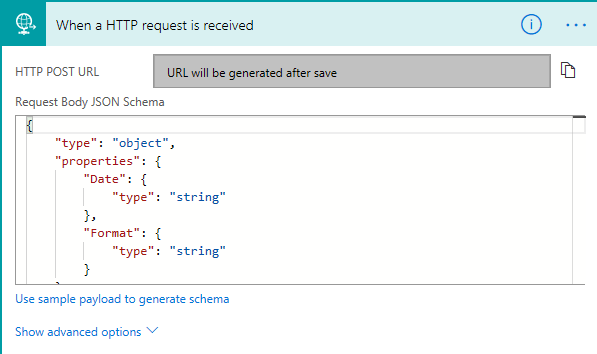
Request Body - Alternatively, we can auto-generate the schema by simply defining the JSON body directly above, in the option Use sample payload to generate schema.
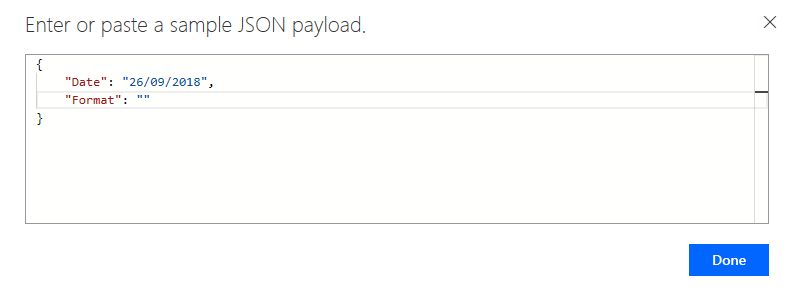
Sample Body - Add a new action Date Time – Convert time zone.

Add an action
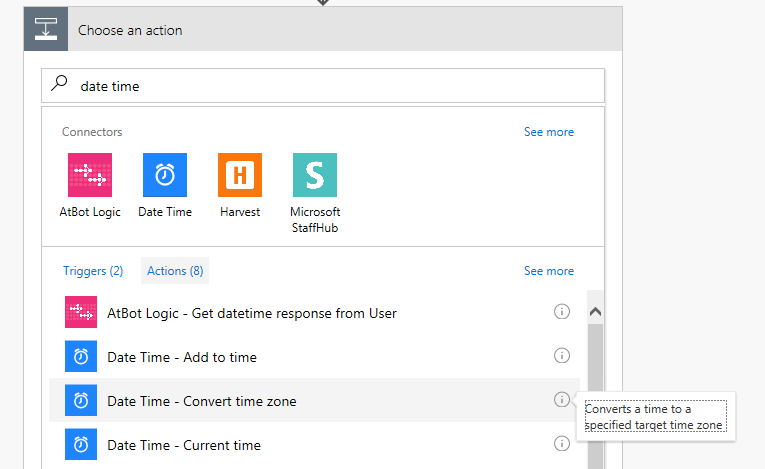
Convert time zone - Let’s rename it to, Convert time zone.
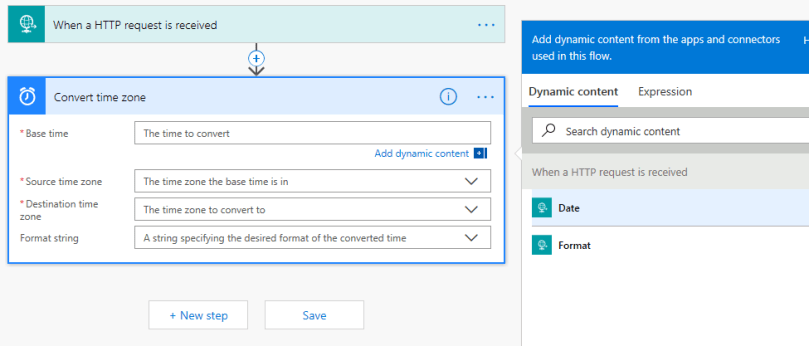
Convert time zone - I have configured it to below format. I am expecting to receive the date and the output display format in the request body.
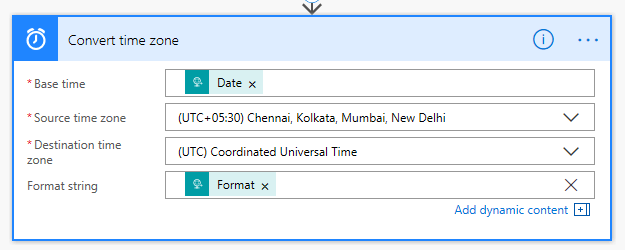
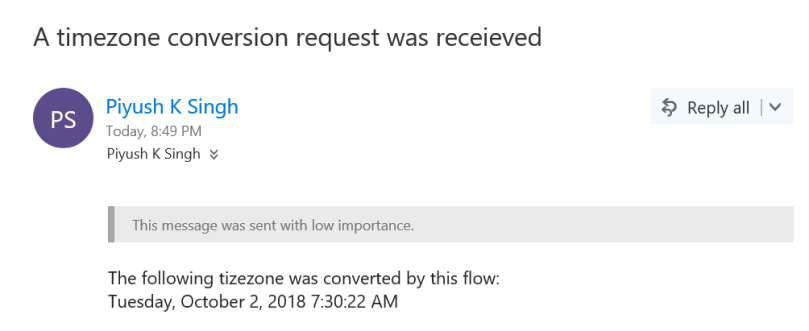
Convert time zone UTC - In this step, I want to be notified via email that this flow was triggered. I am just using this to demonstrate that we can add any kind of action to our flow, including sending an email.
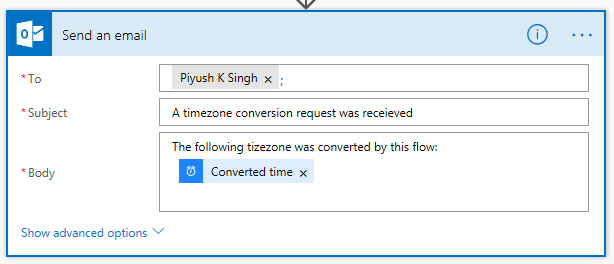
Send an email - Next, add a Response
Response - We need to define the output JSON option. This time I’ll do that via the generate payload option.

Payload - Let’s configure this action to send a response with the output and then, save the flow.

Response action - Once we save the flow, the public URL to trigger the flow will be automatically generated. Copy the same to trigger this flow manually.
Request URL
Trigger the flow remotely
To trigger this flow remotely, I’ll be using Postman.
- Launch Postman.
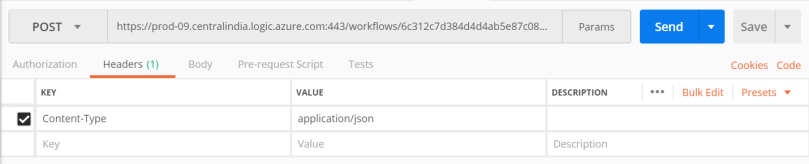
- Paste the above copied URL in Postman.
- Make the request type to POST.
- Make sure to add the Content-Type to header as application/json.
Request header - Set the body parameter of the request. A date value that I want to convert to UTC. And the output format.
{
	"Date": "2018-10-02T13:00:22",
	"Format": "F"
}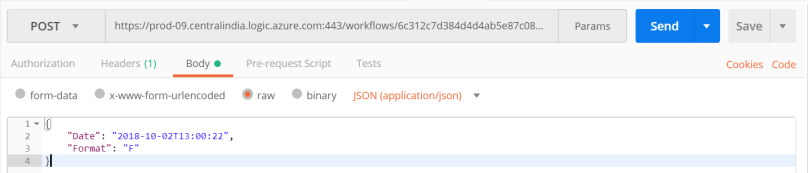
Body - Send the request. Couple of things will happen. First, I’ll receive the format as a response of this request. Also, I’ll receive an email with the result.

Key Takeaways
- Flows are very powerful and can internally do a lot of operations. So, keep the functionalities of generic ones limited, from the security standpoint.
- Flow Request trigger accepts the parameters in JSON format.
- [F], the output date time format used in the post above, denotes full date/time pattern.
- The input date time value must match ISO 8601 format.
- Finally, do not attempt to hit the flow URL mentioned in this post ’cause I have disabled it already. 😉

Thanks for posting – easy to follow example 🙂
LikeLike
Fantastic Content!
LikeLike