
Premise
In this post, I’ll demonstrate how to add a display form to your PowerApps. Display form or, FormViewer is used to view all/multiple properties of any given item of the source, in a read-only fashion. FormViewer helps us to view data in PowerApps.
Create a display form in PowerApps
Adding and configuring a new form, whether display or edit, is super easy in PowerApps. Here are the steps to do the same.
- Launch PowerApps studio and add a new blank screen to your app.
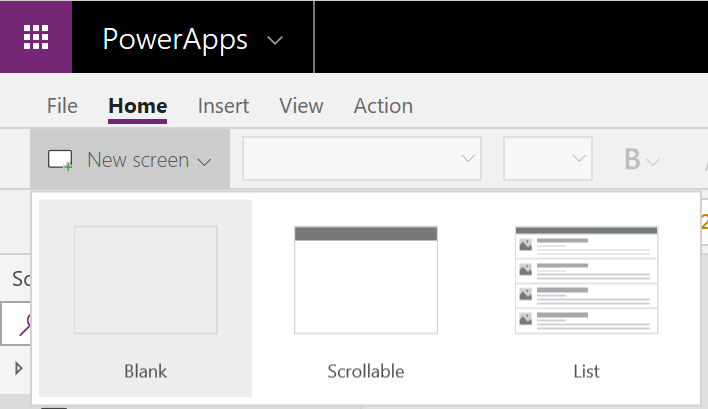
Blank Screen - Once added, you may want to give it a proper name for better understanding. In this case, scrnView.
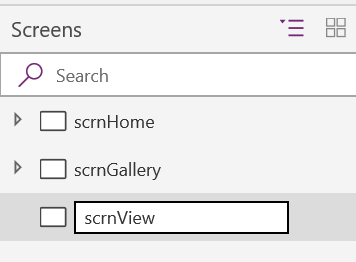
Rename Screen - From the top menu control, add Display form.

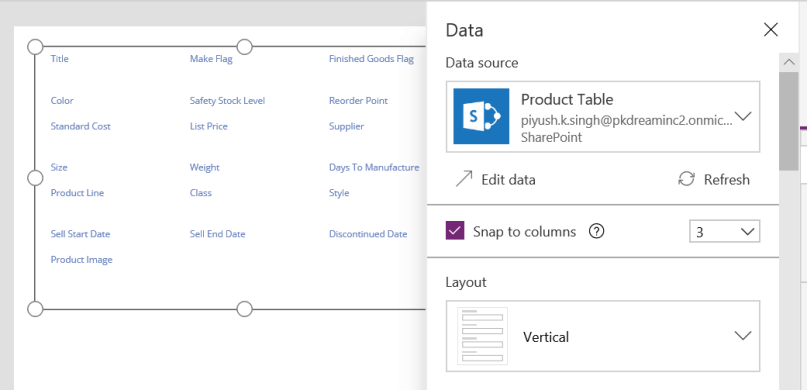
Display Form Menu - In the data pane, select your data source.

Data Source - Once a data source has been mapped, all the corresponding meta-data will then be displayed.
Data Source Meta-data - We can then, design it accordingly. For ex, I added a blue rectangle at the top. It contains 2 buttons at the extreme and 1 center label, text.

Display Form - For the sake of testing, let’s set a fixed value to it. I know that in my list, I have an item with id, 1. So, I’ll filter the source on this id.
First(Filter('Product Table', ID = 1))
FormViewer
Key Takeaways
- The SharePoint List, used as data source here, is, Product Table.
- In this post, I have demonstrated how to add a PowerApps FormViewer to an existing app. To add this to a new app, refer this post.
- As soon as the new screen was added, I decided to rename it. It’s a good practice to assign a friendly name to your controls. As your application will grow, naming convention will help you to easily determine the purpose of each control thereby, facilitating future modifications.
- In this particular example, I have used a fixed ID to display the information. However, in an ideal case scenario, this id property should be dynamically fed to the form.

Hi ,you are connectng to a ProductTable ,but is it possible to connect to Office365users?
I would like to show information about my AD in a FormDisplay but i don’w know how.
LikeLike