
Just like we have SharePoint Foundation for on-premise, Microsoft issues a free 1 year developer license for SharePoint Online as well. Even better, we get a full SharePoint Online experience here unlike SharePoint Foundation where, a lot of enterprise features were blocked.
In this post, I’ll demonstrate
- how to setup your free 1 year developer account for Office 365 and then,
- how to activate full features of SharePoint Online by assigning the adequate product licenses.
Setting up Office 365 Developer Account
Setting up the developer account is pretty straightforward. Here are the steps to the same:
- Go to Office Dev Center and click on Sign in. You need to sign-in using any of your Microsoft account (Outlook/Hotmail/Live).

- Once the signing is done, click on the JOIN NOW button.
- It will now open up a registration form. Fill in your details and then, hit Next.

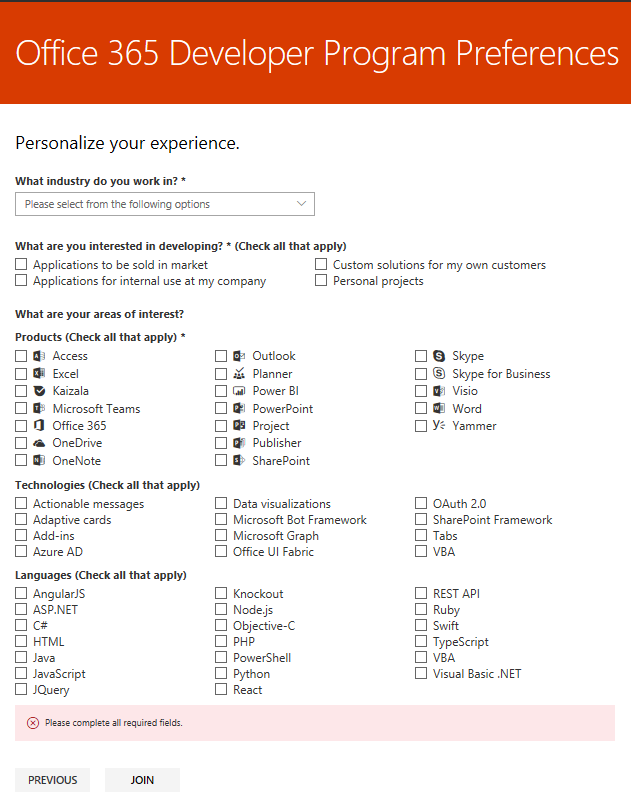
- This is the crucial part. You will be taken to the, Office 365 Developer Program Preferences page. There, select the services you are interested in, to try out during this 1 year of subscription. Once you’re done with the selection, hit the JOIN button. Be sure about your selection here. For ex, if you don’t select the Outlook option then, you won’t be getting the e-mail service, and so forth.
- A message will be displayed asking you to setup the subscription, first.
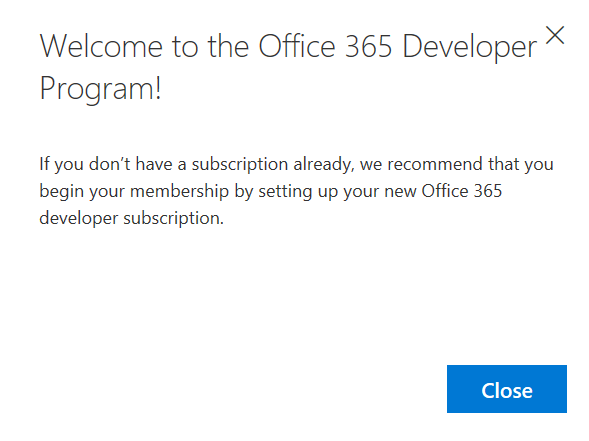
- Once you close the message box, the first thing you need to do, is to hit the SET UP SUBSCRIPTION button.

- It will open up a new form. Fill in the required username and password fields. Remember, this is going to be the primary account for your SharePoint Online. The username will be automatically suffixed by .onmicrosoft.com.

- It might take a while.

- Finally, Office 365 landing page will be displayed. At this point, our developer account is fully setup with an active subscription for 1 year. Though, you can do anything from hereon. But, I suggest, you first click the Assign Products buttons, to assign the required SharePoint licenses. Which, will take us to the second part of this post.

Activate SharePoint Developer License: Office 365
We need to assign ourselves adequate SharePoint licenses in order to use it. So, let’s just dive into the steps.
- As mentioned above, click on the Assign Products button to directly jump into the users list page. Alternatively, you can choose to also go there via this navigation,
Office 365 Admin Center > Users > Active Users
- Once there, you’ll notice that the status of your user is, unlicensed.

- Select the user. It will automatically open up the user card. Select the Edit link next to the Product licenses option.

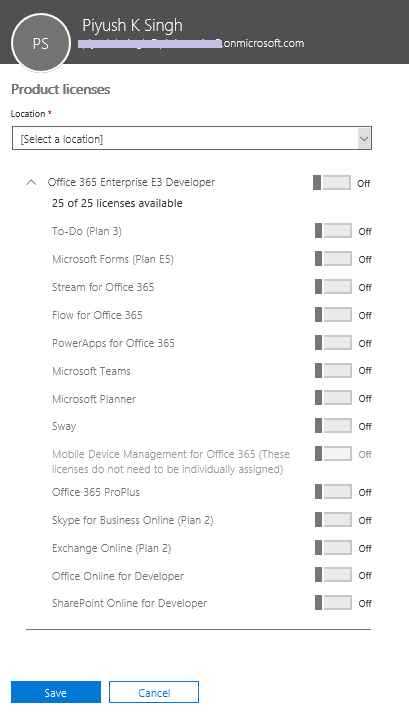
- This, again is another crucial part. You will be shown all the available licenses under the category, Office 365 Enterprise E3 Developer. Be sure to select your location as well. This is also important because based on your location, some of the below licenses may or may not be applicable. Select all the licenses you’d want to activate for this user and hit the Save button.
- The setup is near instant. Once finished, it’ll then display the successful message of products assigned.

- Once you close the card, you can now see that the status is changed from unlicensed to Office 365 Enterprise E3 Developer.

That’s it! Your new SharePoint Online tenant is now up and ready. You can visit the SharePoint admin center or any of your site to validate the setup.


This is a good post. This post gives truly quality information. I’m definitely going to look into it.Really very useful tips are provided here. Thank you so much. Keep up the good works.
LikeLike