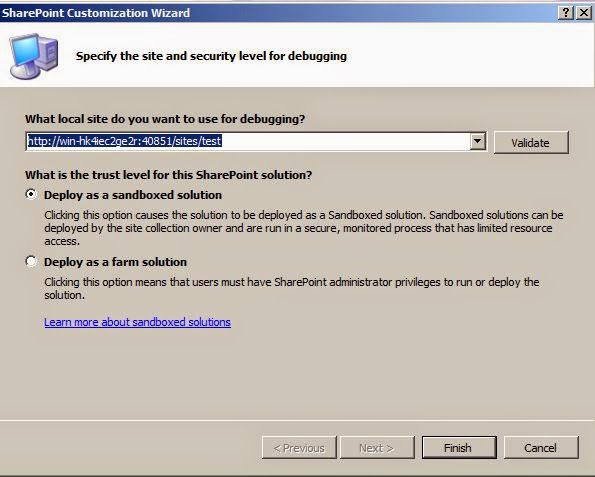
Create a Blank SharePoint project in Visual Studio.Enter your site url and validate.
Add a new class say, TestTimer.
All timers must inherit from the class, Microsoft.SharePoint.Administration.SPJobDefinition. Following is the code sample for our TestTimer class.
using System;
using System.Collections.Generic;
using System.Linq;
using System.Text;
using Microsoft.SharePoint.Administration;

namespace SharePointTimerSample
{
    class TestTimer : SPJobDefinition
    {
        public TestTimer()
            : base()
        {
        }

        public TestTimer(string jobName, SPService service, SPServer server, SPJobLockType targetType)
            : base(jobName, service, server, targetType)
        {
        }

        public TestTimer(string jobName, SPWebApplication webApplication)
            : base(jobName, webApplication, null, SPJobLockType.Job)
        {
            this.Title = "My Test Timer Job";
        }

        protected override bool HasAdditionalUpdateAccess()
        {
            return true;
        }

        public override void Execute(Guid contentDbId)
        {
            //Write your main code here
        }
    }
}
The main functionality of our Timer job has to be laid down in the “Execute” method. It is this method, which will get called periodically by the timer after the completion of its given time interval.
Now, add a new Feature to your project.
Set the scope of the timer as per your requirement. Here, we’re going to set its scope to the site level. You can also set the name of your timer job here. Plz note that this is the name that will be displayed under the SiteCollection features option and is not the name of your wsp. The wsp’s name is going to be the name of your project.
Add a EventReceiver to our newly created Feature.
It is at the EventReceiver, we define the activities that needs to be performed while activating or deactivating the timer job. Even the time interval is also defined here.
using System;
using System.Linq;
using System.Runtime.InteropServices;
using System.Security.Permissions;
using Microsoft.SharePoint;
using Microsoft.SharePoint.Security;

namespace SharePointTimerSample.Features.Feature1
{
    ///
    /// This class handles events raised during feature activation, deactivation, installation, uninstallation, and upgrade.
    ///
    ///
    /// The GUID attached to this class may be used during packaging and should not be modified.
    ///

    [Guid("e61e62e9-5b30-4c8b-ad03-402056f835e3")]
    public class Feature1EventReceiver : SPFeatureReceiver
    {
        // Uncomment the method below to handle the event raised after a feature has been activated.

        public override void FeatureActivated(SPFeatureReceiverProperties properties)
        {
            SPSecurity.RunWithElevatedPrivileges(delegate()
            {
                SPSite site = properties.Feature.Parent as SPSite;
                int userid = site.RootWeb.CurrentUser.ID;

                // make sure the job isn't already registered
                site.WebApplication.JobDefinitions.Where(t => t.Name.Equals("List_JOB_NAME")).ToList().ForEach(j => j.Delete());

                // install the job
                TestTimer listLoggerJob = new TestTimer("List_JOB_NAME", site.WebApplication);

                //SPDailySchedule schedule = new SPDailySchedule();
                //schedule.BeginHour = 17;
                //schedule.BeginMinute = 0;
                //schedule.BeginSecond = 0;
                //schedule.EndSecond = 59;
                //schedule.EndMinute = 59;
                //schedule.EndHour = 0;

                SPMinuteSchedule schedule = new SPMinuteSchedule();
                schedule.BeginSecond = 0;
                schedule.EndSecond = 59;
                schedule.Interval = 5;

                listLoggerJob.Schedule = schedule;
                listLoggerJob.Update();
            });
        }


        // Uncomment the method below to handle the event raised before a feature is deactivated.

        public override void FeatureDeactivating(SPFeatureReceiverProperties properties)
        {
            SPSecurity.RunWithElevatedPrivileges(delegate()
            {
                SPSite site = properties.Feature.Parent as SPSite;

                // delete the job
                site.WebApplication.JobDefinitions.Where(t => t.Name.Equals("List_JOB_NAME")).ToList().ForEach(j => j.Delete());
            });
        }


        // Uncomment the method below to handle the event raised after a feature has been installed.

        //public override void FeatureInstalled(SPFeatureReceiverProperties properties)
        //{
        //}


        // Uncomment the method below to handle the event raised before a feature is uninstalled.

        //public override void FeatureUninstalling(SPFeatureReceiverProperties properties)
        //{
        //}

        // Uncomment the method below to handle the event raised when a feature is upgrading.

        //public override void FeatureUpgrading(SPFeatureReceiverProperties properties, string upgradeActionName, System.Collections.Generic.IDictionary parameters)
        //{
        //}
    }
}
Finally, select your Feature in the Solution Explorer, and change, “Activate On Default” to False and “Always Force Install” to True.
That’s it. Next, deploy your solution and activate the feature from the “Site Collection features” option of your site. [As we set the scope to Site level.]